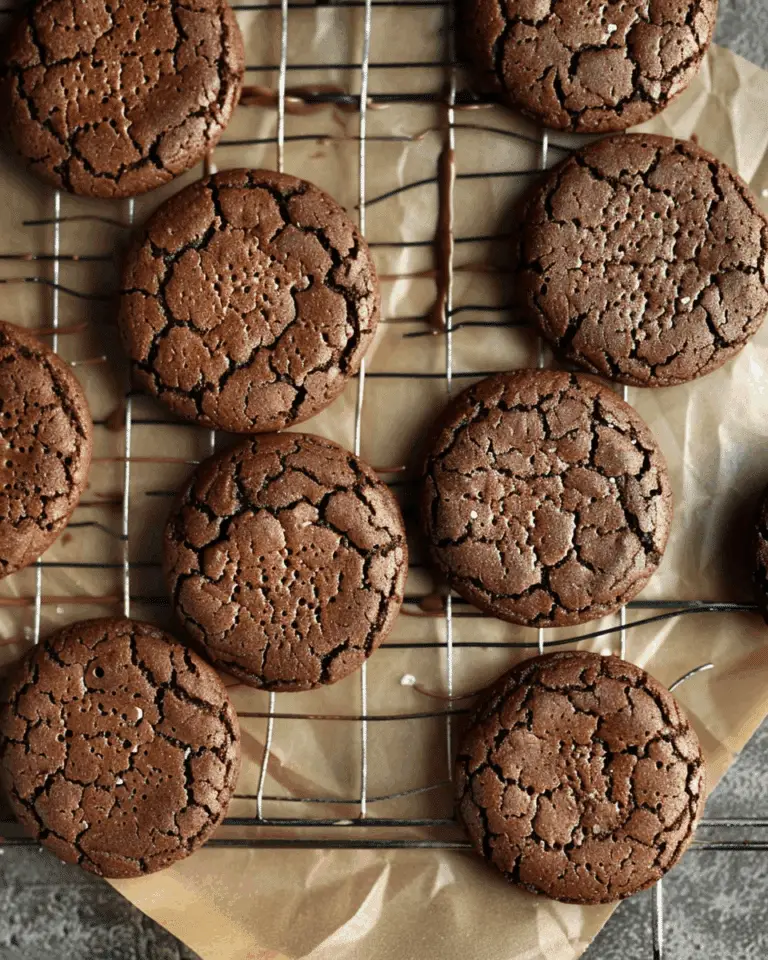
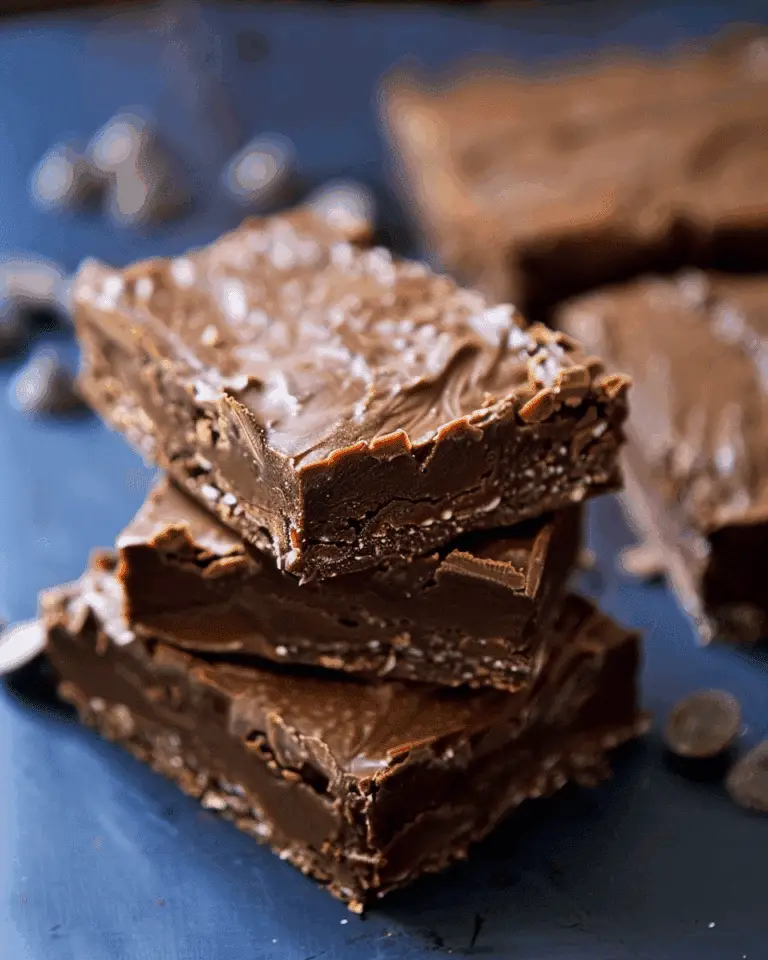
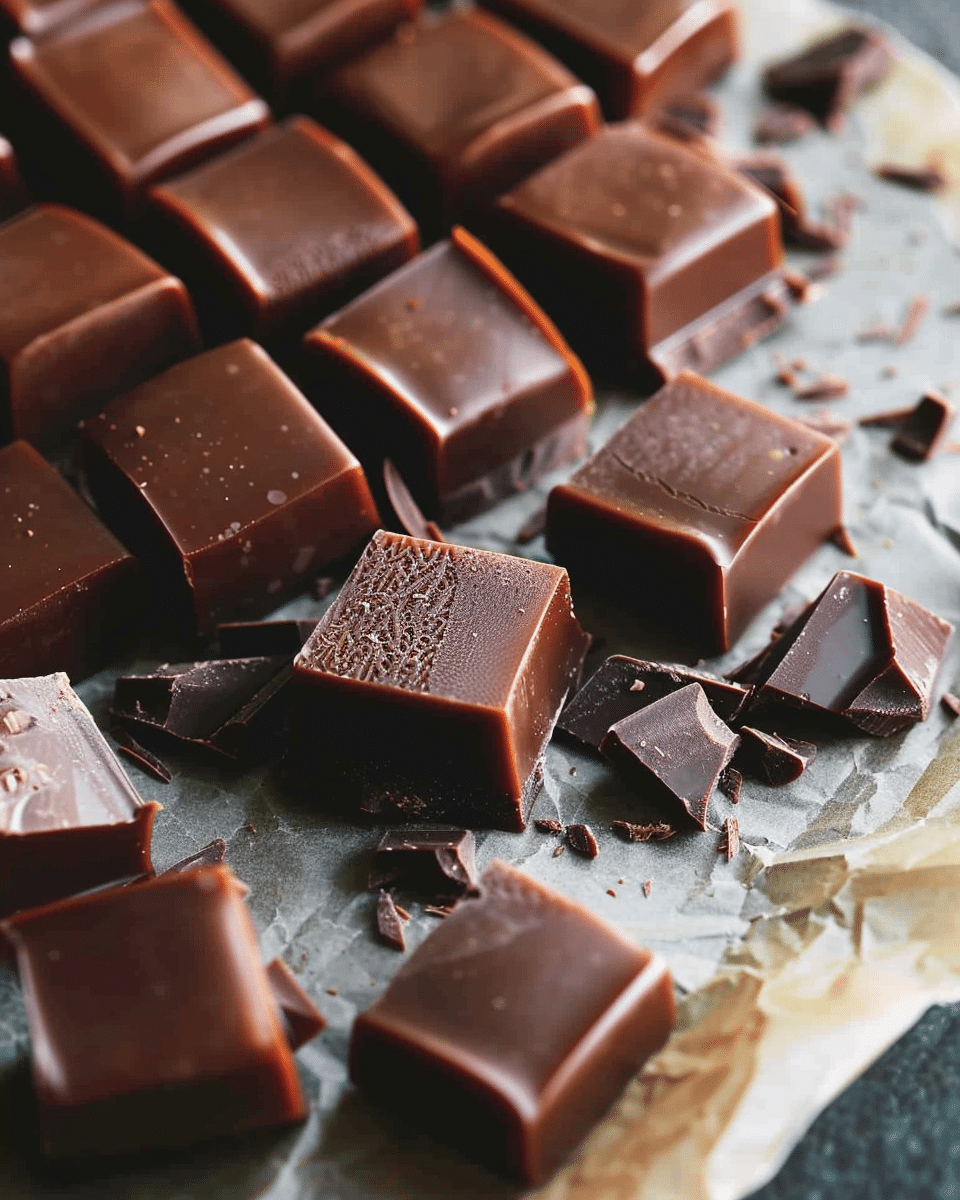
Decadent and chewy caramels covered in smooth chocolate, these homemade treats deliver the perfect combination of rich flavors and textures that will satisfy any sweet tooth.
Why You’ll Love This Recipe
These chocolate caramels bring together the best of both worlds – buttery, chewy caramel enrobed in silky chocolate. They’re impressive enough for gift-giving but simple enough to make when you’re craving something special. The recipe uses basic pantry ingredients with no special equipment beyond a candy thermometer. Whether you’re a candy-making novice or experienced confectioner, these chocolate caramels deliver consistent, delicious results that will have everyone asking for the recipe.
Ingredients
(Tip: You’ll find the full list of ingredients and measurements in the recipe card below.)
Unsalted butter forms the rich base of these caramels, providing that smooth, melt-in-your-mouth quality that makes homemade caramels so special. Using unsalted allows you to control the salt content precisely.
Heavy cream creates the luxurious texture and helps achieve that perfect chewy consistency. The fat content is essential, so avoid substituting with half-and-half or milk.
Brown sugar adds a deep molasses flavor that makes these caramels distinctive. It contributes both sweetness and that characteristic caramel color and taste.
Light corn syrup is crucial for preventing sugar crystallization, ensuring your caramels have that perfect smooth texture instead of becoming grainy. If you prefer, honey or golden syrup can work as substitutes, though they will slightly alter the flavor.
Salt balances the sweetness and enhances all the flavors. Even this small amount makes a noticeable difference in the final product.
Vanilla extract adds aromatic warmth and depth of flavor that complements both the caramel and chocolate components.
Dark chocolate (or milk chocolate) creates that irresistible outer shell. The choice between dark or milk affects the final flavor profile – dark provides a pleasant bittersweet contrast to the sweet caramel, while milk chocolate offers a creamier, more mellow experience.
Coconut oil helps thin the chocolate for easier dipping and creates a smoother coating that sets beautifully. If you don’t have it on hand, you can omit it, though your chocolate coating might be slightly thicker.
Directions
- Line an 8×8-inch baking dish with parchment paper, leaving some overhang to easily remove the caramels later.
- In a medium saucepan over medium heat, melt the butter. Once melted, add the brown sugar, corn syrup, salt, and heavy cream.
- Stir continuously and bring the mixture to a boil. Reduce the heat to low and allow it to simmer for 15-20 minutes, stirring occasionally, until it thickens and reaches 240°F (115°C) on a candy thermometer.
- Once it reaches the correct temperature, remove the saucepan from the heat and stir in the vanilla extract.
- Pour the caramel mixture into the prepared baking dish and let it cool at room temperature for 2-3 hours, or until set.
- Once the caramel is set, cut it into small squares or rectangles using a sharp knife.
- In a microwave-safe bowl, melt the dark chocolate (and coconut oil, if using) in 30-second intervals, stirring between each interval until smooth.
- Dip each caramel into the melted chocolate, ensuring it’s fully coated. Place the chocolate-covered caramels on a parchment-lined tray.
- Allow the chocolate to set at room temperature or refrigerate for faster setting.
Servings and Timing
This recipe yields approximately 20-25 caramels, depending on how large you cut them. Each caramel contains around 180 calories, making them a reasonable indulgence. The preparation takes about 15 minutes, with 30 minutes of cooking time. However, you’ll need to factor in 2-3 hours of cooling time plus additional time for the chocolate to set, bringing the total time to approximately 3 hours and 45 minutes.
Variations
Sea Salt Topped: Sprinkle a few flakes of sea salt on top of the chocolate while it’s still wet for a popular sweet-salty combination.
Nutty Chocolate Caramels: Roll the caramels in chopped toasted nuts before the chocolate sets completely.
Espresso Chocolate Caramels: Add 1 tablespoon of espresso powder to the caramel mixture for a coffee-infused treat.
Spiced Chocolate Caramels: Incorporate 1/2 teaspoon of cinnamon and a pinch of cayenne into the caramel for a warming, slightly spicy version.
Half-Dipped: Instead of fully coating the caramels, dip only halfway into the chocolate for an artistic presentation that showcases both layers.
White Chocolate Drizzle: After coating with dark chocolate, drizzle with melted white chocolate for visual contrast and flavor complexity.
Storage/Reheating
Store your chocolate caramels in an airtight container at room temperature for up to 2 weeks. Place pieces of parchment paper between layers to prevent sticking. In warmer climates, refrigeration is recommended to prevent the chocolate from melting, but bring them to room temperature before serving for the best texture and flavor experience.
For longer storage, you can freeze the caramels for up to 3 months. Wrap them individually in wax paper or parchment, then place in a freezer-safe container or bag. Thaw at room temperature for several hours before enjoying.
These caramels are best enjoyed at room temperature and don’t require reheating. In fact, heating would compromise the chocolate coating and potentially make the caramel too soft.
FAQs
Why did my caramel turn out too hard?
Your caramel likely reached a temperature higher than 240°F during cooking. Candy making is precise, and even a few degrees can significantly change the texture. Always use a reliable candy thermometer and consider testing it in boiling water (which should read 212°F at sea level) before starting your recipe.
Can I make these caramels without a candy thermometer?
While a candy thermometer provides the most reliable results, you can use the cold water test. Drop a small amount of the caramel into cold water. If it forms a firm but pliable ball that flattens when pressed (soft ball stage), it’s ready. However, this method requires experience and doesn’t guarantee consistent results.
Why did my chocolate coating crack or bloom?
Chocolate cracks when it’s been overheated or if the caramels were too cold when dipped. Blooming (white streaks) occurs when chocolate is improperly tempered. To avoid these issues, melt chocolate gently, add coconut oil for flexibility, and ensure caramels are room temperature before dipping.
Can I use salted butter instead of unsalted?
Yes, but reduce or eliminate the added salt in the recipe. Using salted butter makes it harder to control the exact salt level in your caramels, but it won’t ruin them.
How do I prevent my caramels from sticking to the knife when cutting?
Lightly coat your knife with cooking spray or run it under hot water and wipe dry between cuts. Some people also find chilling the caramels briefly before cutting helps achieve cleaner cuts.
Are these chocolate caramels gluten-free?
Yes, all ingredients in this recipe are naturally gluten-free. However, always check your specific brands of chocolate and other ingredients for potential cross-contamination if you have celiac disease or severe gluten sensitivity.
Why is my caramel grainy?
Graininess occurs when sugar crystallizes. To prevent this, avoid stirring once the mixture comes to a boil, make sure all sugar crystals are dissolved before boiling, and don’t scrape down the sides of the pan during cooking. The corn syrup helps prevent crystallization.
Can I make these with white chocolate instead?
Yes, white chocolate works beautifully as a coating. Since white chocolate is more prone to seizing, melt it even more gently than dark or milk chocolate, using shorter microwave intervals or a double boiler.
How do I know when my caramels are properly set?
Properly set caramels will be firm to the touch but yield when pressed. They should hold their shape when cut but still have some flexibility. If you press a finger gently into the surface and it leaves an indentation that slowly fills back in, they’re ready to be cut.
Conclusion
These chocolate caramels represent the perfect union of two beloved confections. The contrast between the chewy, buttery caramel center and the snappy chocolate exterior creates an irresistible texture experience, while the flavors complement each other beautifully. Whether you’re making them as holiday gifts, special treats for a gathering, or simply to satisfy your own sweet cravings, this recipe delivers professional-quality candies with home kitchen simplicity. With just a bit of patience during the cooling process, you’ll create confections worthy of any candy shop—but with the satisfaction of knowing exactly what went into them.
Print
Chocolate Caramels
- Total Time: 3 hours 45 minutes
- Yield: 20-25 caramels
- Diet: Vegetarian
Description
Decadent and chewy caramel covered in smooth chocolate, perfect for any occasion
Ingredients
1 cup unsalted butter
1 cup heavy cream
1 1/2 cups brown sugar
1/2 cup light corn syrup
1/4 teaspoon salt
1 teaspoon vanilla extract
8 oz dark chocolate (or milk chocolate), chopped
1 tablespoon coconut oil (optional, for smoother chocolate coating)
Instructions
- Line an 8×8-inch baking dish with parchment paper, leaving some overhang to easily remove the caramels later.
- In a medium saucepan over medium heat, melt the butter. Once melted, add the brown sugar, corn syrup, salt, and heavy cream.
- Stir continuously and bring the mixture to a boil. Reduce the heat to low and allow it to simmer for 15-20 minutes, stirring occasionally, until it thickens and reaches 240°F (115°C) on a candy thermometer.
- Once it reaches the correct temperature, remove the saucepan from the heat and stir in the vanilla extract.
- Pour the caramel mixture into the prepared baking dish and let it cool at room temperature for 2-3 hours, or until set.
- Once the caramel is set, cut it into small squares or rectangles using a sharp knife.
- In a microwave-safe bowl, melt the dark chocolate (and coconut oil, if using) in 30-second intervals, stirring between each interval until smooth.
- Dip each caramel into the melted chocolate, ensuring it’s fully coated. Place the chocolate-covered caramels on a parchment-lined tray.
- Allow the chocolate to set at room temperature or refrigerate for faster setting.
Notes
- You can use milk chocolate instead of dark chocolate, depending on your preference.
- Adding coconut oil helps achieve a glossier chocolate finish but is optional.
- Store the caramels in an airtight container at room temperature or in the refrigerator for extended freshness.
- Prep Time: 15 minutes
- Cook Time: 30 minutes
- Category: Dessert
- Method: No-Bake
- Cuisine: American
Nutrition
- Serving Size: 1 caramel
- Calories: 180 kcal
- Sugar: 18g
- Sodium: 50mg
- Fat: 9g
- Saturated Fat: 5g
- Unsaturated Fat: 3g
- Trans Fat: 0g
- Carbohydrates: 24g
- Fiber: 1g
- Protein: 1g
- Cholesterol: 20mg

