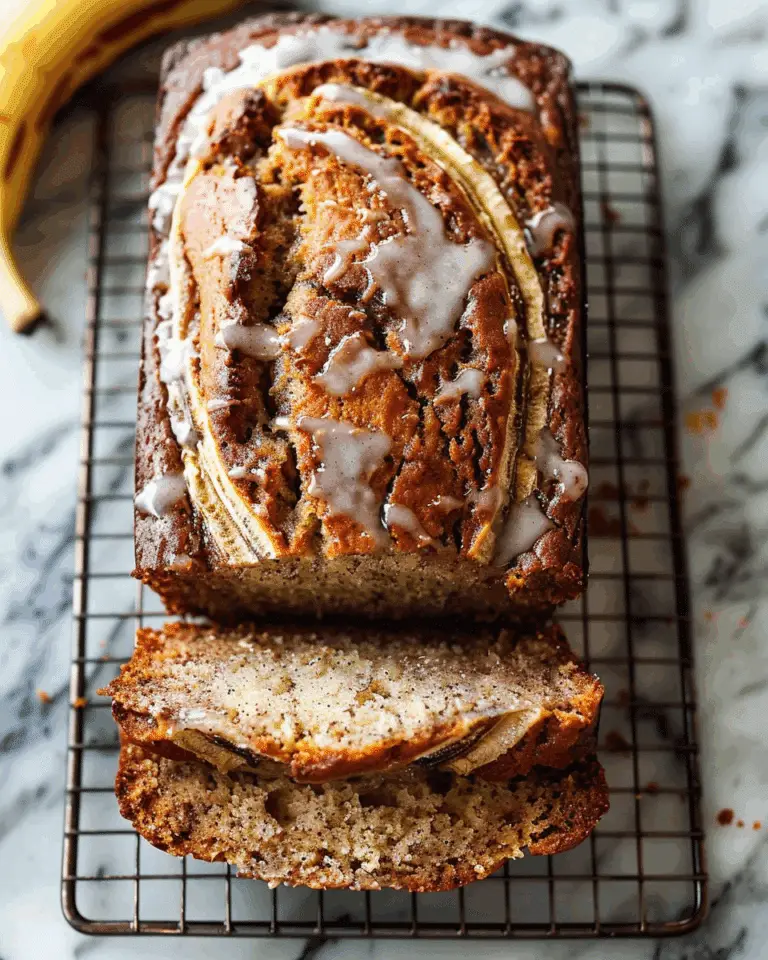
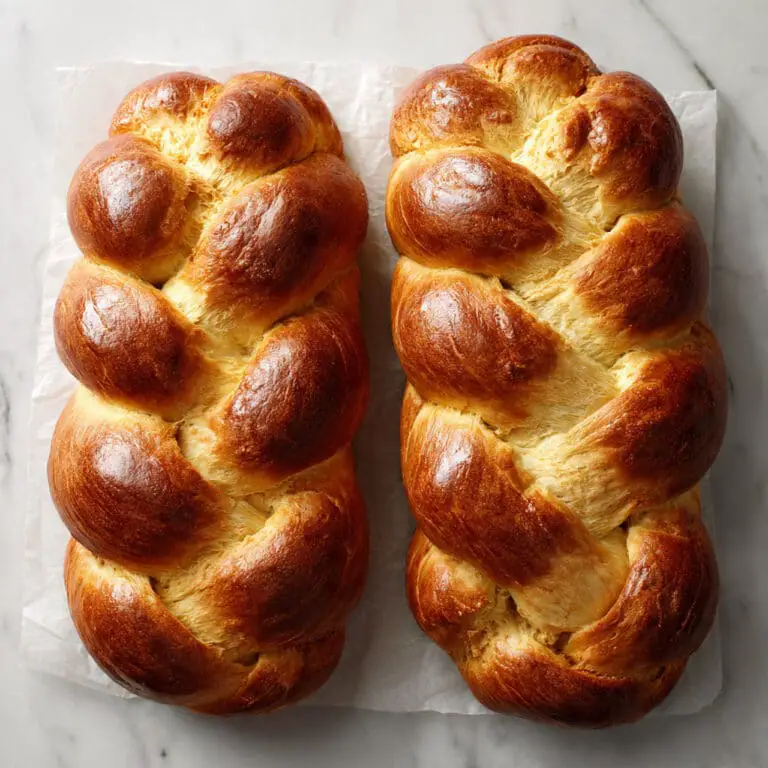
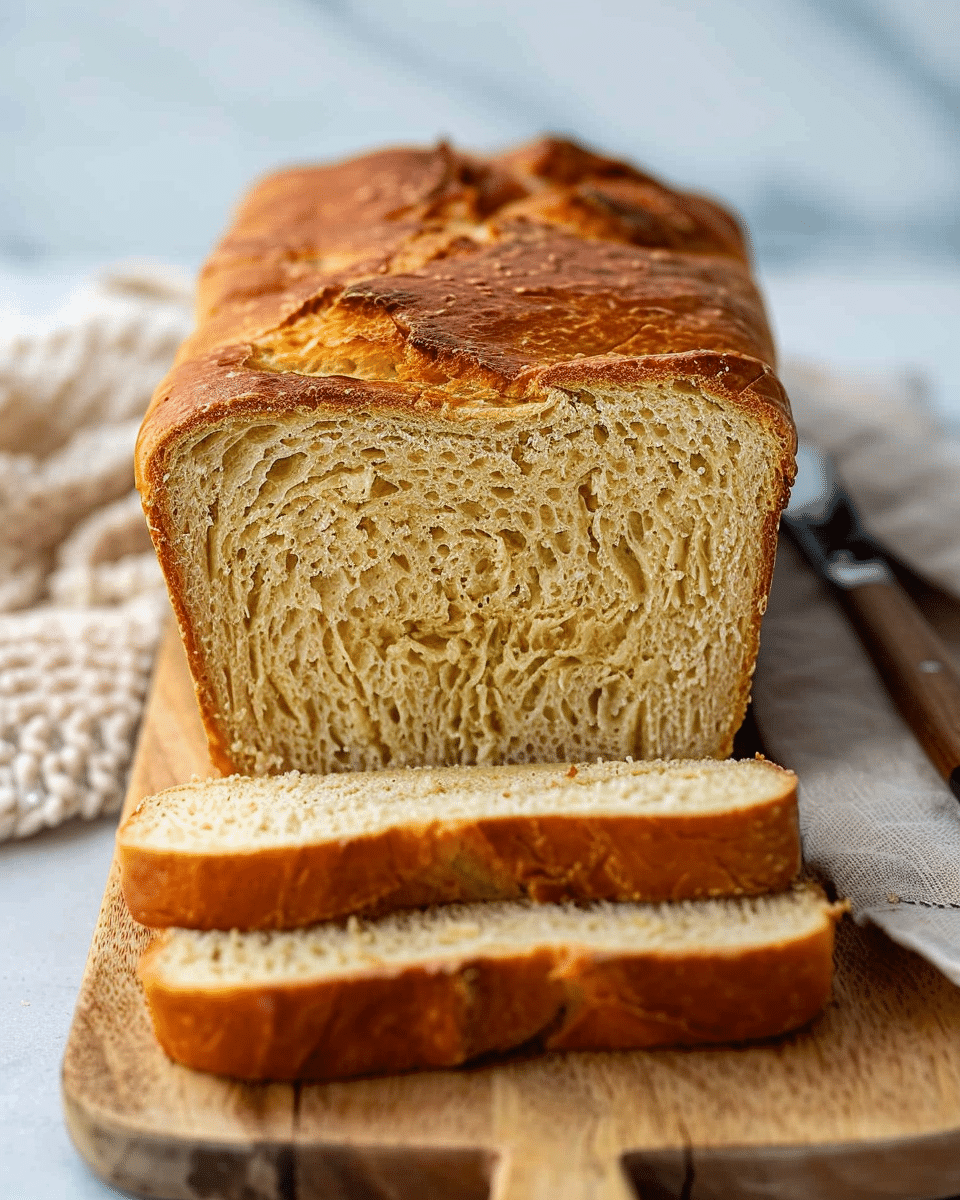
This Legit Squishy-Soft Gluten Free Bread is the answer to all your gluten-free bread needs. With a soft, tender crumb and a perfect, golden crust, this homemade sandwich bread is made from simple ingredients and requires just one rise before baking. Whether you’re gluten-free or just looking for a healthier alternative, this bread is easy to make and offers the satisfying texture and flavor that gluten-free bread often lacks. Best of all, it’s ready in just under two hours and will quickly become your go-to bread recipe!
Why You’ll Love This Recipe
-
Soft and Squishy: The bread has a fluffy, tender texture, making it perfect for sandwiches or toasted with butter.
-
Simple Ingredients: The recipe uses basic pantry staples that are easy to find and easy to work with, including gluten-free flour and psyllium husk powder for added moisture.
-
One Rise: No need for multiple rises—just mix, let it rise, and bake!
-
Dairy-Free Option: The recipe is naturally dairy-free, and can be made even more so with a few simple substitutions like non-dairy milk and oil.
-
Great for Meal Prep: You can make a batch, slice it, and freeze it for future use. No more dry, crumbly gluten-free bread!
Ingredients for Legit Squishy-Soft Gluten Free Bread
For the Bread:
-
3 cups (438 g) gluten-free all-purpose flour (Cup4Cup gluten-free flour is highly recommended, see notes for optional milk powder addition)
-
1 packet (2 ¼ tsp, 9 g) instant rapid rise yeast
-
1 tablespoon (11 g) psyllium husk powder (optional, helps with moisture & structure)
-
1 teaspoon baking powder
-
1 teaspoon salt
-
1 ½ cups (338 g) warm water (110°F)
-
2 large eggs, room temperature
-
¼ cup (85 g) honey
-
¼ cup (55 g) vegetable oil
(Tip: You’ll find the full list of ingredients and measurements in the recipe card below.)
Directions
Step 1: Prepare the Dry Ingredients
Using a stand mixer with the paddle attachment, mix together the gluten-free flour, yeast, psyllium husk powder (if using), baking powder, and salt on low speed until combined.
Step 2: Add the Wet Ingredients
Add the warm water, eggs, honey, and vegetable oil. Mix on low speed for about 1 minute, until the dough begins to come together.
Step 3: Mix the Dough
Increase the speed to medium and beat for about 5 minutes, scraping down the paddle and bowl halfway through. The dough will be stiff but sticky.
Step 4: Prepare the Pan
Grease a 9×4-inch loaf pan. Pour the dough into the pan and smooth the top evenly with a spatula.
Step 5: Let It Rise
Spray a large piece of plastic wrap with nonstick cooking spray. Lay the plastic wrap, greased side down, over the pan. Let the dough rise in a warm, draft-free place for about 30 minutes, or until it reaches two-thirds of the top of the pan (it will rise more during baking). Preheat your oven to 350°F (175°C) while the dough is rising.
Step 6: Bake the Bread
Remove the plastic wrap and bake the bread on the middle rack of the oven for 40-50 minutes. Tent a piece of foil loosely over the bread halfway through baking to prevent over-browning. The bread is done when it reaches an internal temperature of 205°F (95°C).
Step 7: Cool the Bread
Allow the loaf to cool for 5 minutes in the pan, then remove it from the pan and place it on a cooling rack. Let the bread cool completely (at least 2 hours) before slicing. For best results, serve the bread at room temperature, toasted, or grilled.
Servings and Timing
-
Servings: 14 slices
-
Prep Time: 10 minutes
-
Cook Time: 55 minutes
-
Rising Time: 45 minutes
-
Total Time: 1 hour 30 minutes
Storage and Freezing
Leftovers:
-
Room Temperature: Gluten-free bread doesn’t have the same shelf life as regular bread. Store at room temperature, wrapped in plastic or a bread box for up to 3 days.
-
Refrigerating: Refrigerating can make the bread dry, so it’s not recommended.
Freezing:
-
Slice the bread after it’s completely cooled (at least 3 hours). Wrap slices tightly in plastic wrap and place them in a freezer-safe bag. Freeze for up to 3 months. To defrost, remove slices from the freezer and let them thaw at room temperature or toast directly from frozen.
Notes and Tips
Adding Milk Powder:
-
This is optional, but adding 2 tablespoons of gluten-free certified milk powder can add moisture to the bread. If you’re using Cup4Cup flour, they recently removed milk powder from their blend, so this adjustment is beneficial. You can also use any other gluten-free flour blend and add milk powder if desired.
Psyllium Husk Powder:
-
The psyllium husk powder helps maintain the moisture and structure of gluten-free bread, preventing it from being crumbly. If you don’t have it, you can still make the bread without it, but it does improve the texture.
Bread Machine Instructions:
-
You can make this recipe in a bread machine with a gluten-free setting. Add all the wet ingredients to the bottom of the bread pan, followed by the dry ingredients. Use the “gluten-free” setting and proceed as usual.
For a Softer Crust:
-
For a softer crust, brush the top of the bread with a little butter as soon as it’s out of the oven. You can also cover it with a clean towel while it cools to keep the crust soft.
FAQs
1. Can I use a different type of gluten-free flour?
Yes, you can use other gluten-free all-purpose flour blends, but make sure to choose one with xanthan gum or guar gum for proper texture. If your blend doesn’t contain either, you may need to add them.
2. Can I make this bread without eggs?
Yes, you can substitute the eggs with an egg replacer or flax eggs (1 tablespoon ground flaxseed + 3 tablespoons water per egg).
3. How can I make the bread more flavorful?
You can add herbs or spices such as rosemary, thyme, or garlic powder to the dough for extra flavor.
4. Can I make this recipe dairy-free?
Yes, use non-dairy milk and substitute the oil for dairy-free butter or margarine to make the recipe dairy-free.
5. How do I know when the bread is fully baked?
The bread should reach an internal temperature of 205°F (95°C). If you don’t have a thermometer, the bread should be golden-brown on top, and when tapped on the bottom, it should sound hollow.
Conclusion
This Legit Squishy-Soft Gluten Free Bread is a game-changer for anyone looking for delicious and soft gluten-free bread. Whether you need a reliable sandwich bread or just a comforting slice, this recipe has you covered. It’s easy to make, with minimal ingredients and just one rise. With its light, fluffy texture and perfect crust, this bread will quickly become a favorite in your gluten-free kitchen!
Print
Legit Squishy-Soft Gluten Free Bread
- Total Time: 1 hour 30 minutes
- Yield: 14 slices
- Diet: Gluten Free
Description
This Legit Squishy-Soft Gluten Free Bread is the perfect solution for anyone looking for a soft, flavorful gluten-free loaf. Made with simple ingredients and easy steps, it’s perfect for sandwiches, toast, or simply enjoying on its own. With a light, fluffy texture and a perfect golden crust, this bread will become your go-to gluten-free recipe!
Ingredients
For the Bread:
3 cups (438 g) gluten-free all-purpose flour (Cup4Cup highly recommended)
1 packet (2 ¼ tsp, 9 g) instant rapid-rise yeast
1 tablespoon (11 g) psyllium husk powder (optional, helps with bread moisture & structure)
1 teaspoon baking powder
1 teaspoon salt
1 ½ cups (338 g) warm water (110°F)
2 large eggs, room temperature
¼ cup (85 g) honey
¼ cup (55 g) vegetable oil
Optional Additions (for Extra Moisture):
2 tablespoons gluten-free certified milk powder (optional, for extra moisture)
Instructions
Prepare the dry ingredients:
In the bowl of a stand mixer with the paddle attachment, mix the gluten-free flour, yeast, psyllium husk powder (if using), baking powder, and salt on low speed until combined.
Add the wet ingredients:
Add the warm water, eggs, honey, and vegetable oil. Mix on low speed until the dough starts to come together, about 1 minute.
Mix the dough:
Increase the mixer speed to medium and beat the dough for 5 minutes, scraping down the paddle and sides of the bowl halfway through. The dough will be stiff but sticky.
Prepare the pan:
Grease a 9×4-inch loaf pan with nonstick spray and pour the dough into the pan. Smooth the top with a spatula.
Let the dough rise:
Cover the pan with greased plastic wrap (greased side down) and set in a warm, draft-free place to rise for 30 minutes, or until the dough reaches two-thirds of the way up the pan. Preheat the oven to 350°F (180°C) while the dough is rising.
Bake the bread:
Remove the plastic wrap and bake the bread for 40-50 minutes, tenting the loaf with foil halfway through to prevent over-browning. The internal temperature should reach 205°F (96°C).
Cool and slice:
Let the bread cool in the pan for 5 minutes before transferring it to a cooling rack. Allow the bread to cool completely (at least 2 hours) before slicing. For best results, serve the bread at room temperature, toasted, or grilled.
Notes
Adding Milk Powder: This addition helps retain moisture and adds richness. If your gluten-free flour blend no longer includes milk powder (like Cup4Cup), you can add it separately for better texture.
Psyllium Husk Powder: Adds moisture and prevents the bread from becoming crumbly. It’s optional but highly recommended for a soft and pliable loaf.
Storage: Gluten-free bread is best stored at room temperature for 1-2 days. For longer storage, slice and freeze the bread after it has cooled completely. Reheat slices directly from the freezer by toasting or griddling.
- Prep Time: 10 minutes
- Rising time:: 45 minutes
- Cook Time: 55 minutes
- Category: Bread
- Cuisine: American

