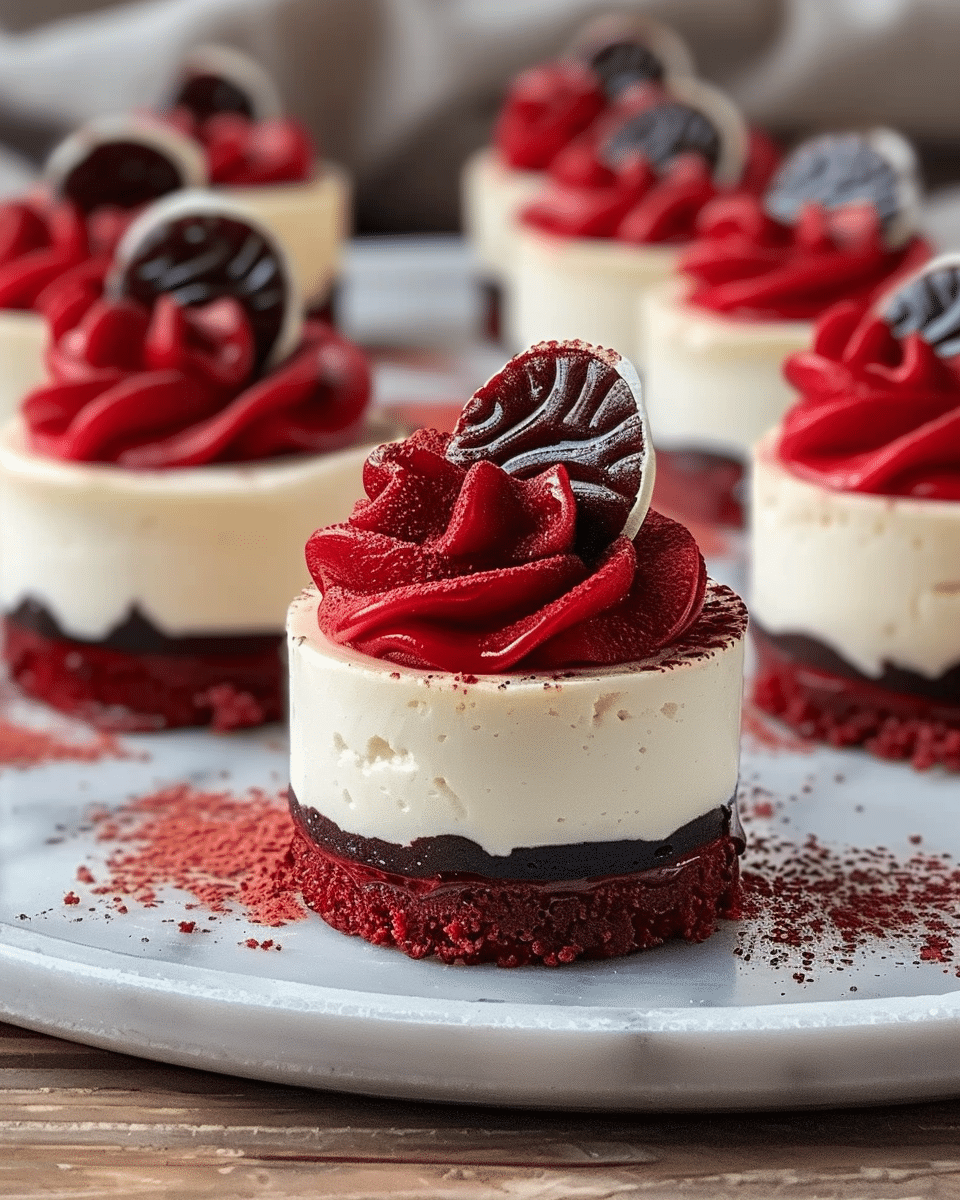
These Mini Red Velvet Cheesecakes are the perfect combination of style and flavor. With their vibrant red filling, creamy texture, and a buttery graham cracker crust, they’re the ultimate bite-sized dessert for parties, holidays, or any occasion that calls for a sweet treat.
Why You’ll Love This Recipe
I love how these mini cheesecakes bring elegance to the table without requiring a ton of effort. They’re small, manageable portions with all the richness of a full-sized cheesecake. Plus, the red velvet flavor and hint of cocoa add a beautiful depth that’s just the right amount of indulgent.
ingredients
(Tip: You’ll find the full list of ingredients and measurements in the recipe card below.)
- 1 cup graham cracker crumbs
- 1/4 cup sugar
- 1/2 cup unsalted butter, melted
- 8 oz cream cheese, softened
- 1/2 cup sugar
- 1 teaspoon vanilla extract
- 1 large egg
- 2 tablespoons all-purpose flour
- 2 tablespoons cocoa powder
- 1 tablespoon red food coloring
- 1/4 teaspoon baking soda
- 1/4 teaspoon salt
- Whipped cream, for topping
- Dark chocolate shavings or cocoa powder, for garnish
directions
- I preheat the oven to 325°F (160°C) and line a muffin tin with paper liners or grease it well.
- In a bowl, I mix the graham cracker crumbs, 1/4 cup sugar, and melted butter until combined.
- I press about 1 tablespoon of the crumb mixture into each muffin liner to form the crust, then bake for 5 minutes and set aside to cool.
- In a large mixing bowl, I beat the softened cream cheese until smooth and creamy.
- I add 1/2 cup sugar and vanilla extract, mixing until well blended.
- I mix in the egg just until combined.
- I sift in the flour, cocoa powder, baking soda, and salt, then mix until smooth.
- I stir in the red food coloring until I get the desired vibrant red shade.
- I divide the cheesecake batter evenly over the pre-baked crusts, filling each liner about 3/4 full.
- I bake for 20–25 minutes, or until the edges are set and the centers have a slight jiggle.
- I let the cheesecakes cool in the pan for about 10 minutes before transferring them to the fridge to chill for at least 2 hours.
- Before serving, I top each mini cheesecake with whipped cream and garnish with chocolate shavings or a dusting of cocoa powder.
Servings and timing
This recipe makes 12 mini cheesecakes.
Prep time: 15 minutes
Total time: 3 hours (including chilling)
Variations
I sometimes swap out the graham crackers for chocolate cookies to deepen the cocoa flavor. For a holiday twist, I’ve used peppermint extract instead of vanilla and topped with crushed candy canes. You can also try adding a swirl of cream cheese mixture before baking for a marbled look.
storage/reheating
I store the mini cheesecakes in an airtight container in the refrigerator for up to 5 days. They also freeze well—just wrap them individually and thaw overnight in the fridge before serving. I don’t recommend reheating as they’re meant to be served chilled.
FAQs
Can I make these ahead of time?
Yes, I often make them a day in advance and store them chilled until ready to serve.
Can I use a different crust?
Absolutely. I’ve used Oreo cookie crumbs or digestive biscuits with great results.
How do I know when the cheesecakes are done?
The edges should be set and the centers should have a slight jiggle. They’ll firm up more as they chill.
Can I double the recipe?
Yes, I’ve doubled it easily. Just bake in multiple muffin tins and keep an eye on the timing.
What kind of food coloring should I use?
I prefer using gel food coloring for more vibrant results without affecting the batter’s consistency.
Can I make this without cocoa powder?
You can, but then it won’t have that signature red velvet taste. I recommend keeping it in.
Do I need a water bath?
No, these mini cheesecakes don’t require one. They bake evenly and smoothly on their own.
Can I use low-fat cream cheese?
I’ve used it before, but the texture isn’t as creamy. Full-fat cream cheese gives the best results.
How do I get clean edges when serving?
I use a warm, clean knife to run along the edges before unwrapping the paper liners.
Can I add mix-ins like chocolate chips?
Yes! I’ve added mini chocolate chips to the batter for extra texture and flavor.
Conclusion
These Mini Red Velvet Cheesecakes are as fun to make as they are to eat. They’re rich, velvety, and beautifully portioned for any occasion. Whether for a celebration or just a sweet craving, they’re sure to impress and satisfy.
Print
Mini Red Velvet Cheesecake
- Total Time: 3 hours
- Yield: 12 mini cheesecakes
Description
Rich, velvety, and perfectly portioned—these Mini Red Velvet Cheesecakes with a graham cracker crust and a creamy cocoa-kissed center make a stunning and delicious dessert for any celebration.
Ingredients
1 cup graham cracker crumbs
1/4 cup sugar
1/2 cup unsalted butter, melted
8 oz cream cheese, softened
1/2 cup sugar
1 teaspoon vanilla extract
1 large egg
2 tablespoons all-purpose flour
2 tablespoons cocoa powder
1 tablespoon red food coloring
1/4 teaspoon baking soda
1/4 teaspoon salt
Whipped cream, for topping
Dark chocolate shavings or cocoa powder, for garnish
Instructions
Preheat oven to 325°F (160°C). Line a muffin tin with paper liners or lightly grease.
Mix graham cracker crumbs, 1/4 cup sugar, and melted butter in a bowl. Press 1 tablespoon of the mixture into each muffin cup and bake for 5 minutes. Set aside to cool.
In a large bowl, beat cream cheese until smooth. Add 1/2 cup sugar and vanilla, and mix well.
Beat in the egg until just incorporated.
Sift in flour, cocoa powder, baking soda, and salt. Mix until smooth. Stir in red food coloring.
Divide the batter evenly among the crusts, filling each liner about 3/4 full.
Bake for 20–25 minutes, until edges are set and centers slightly jiggle.
Cool in tin for 10 minutes, then chill in the fridge for at least 2 hours.
Before serving, top with whipped cream and garnish with chocolate shavings or a dusting of cocoa powder.
- Prep Time: 15 minutes
- Cook Time: 25 minutes
- Category: Dessert

