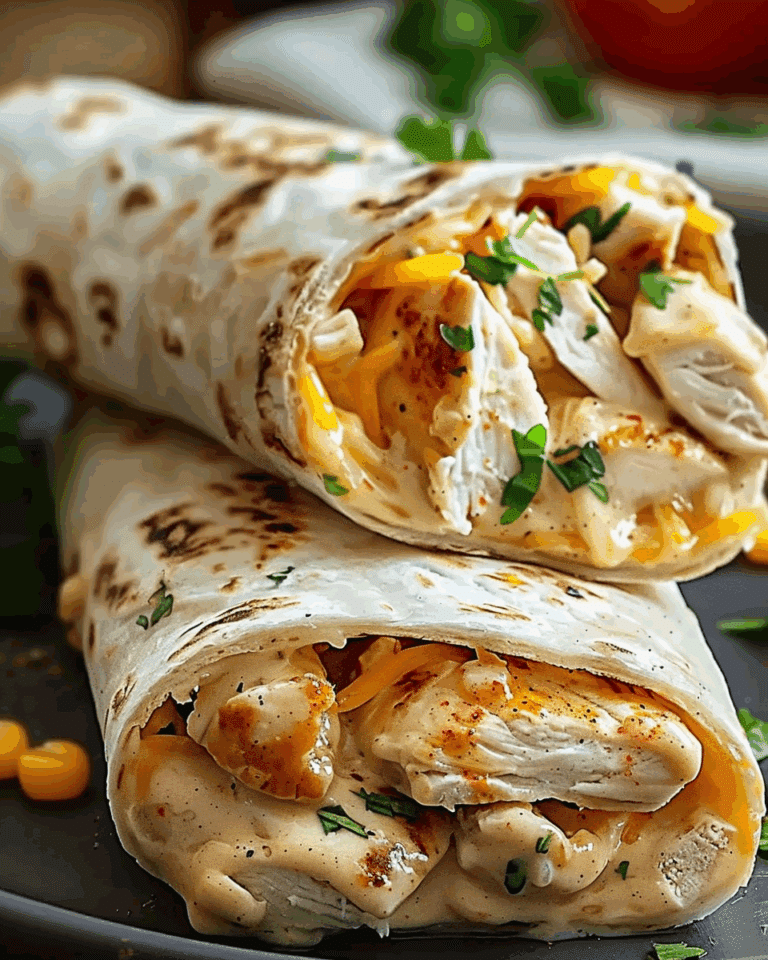
I’ve made crispy, golden chicken taquitos loaded with creamy, cheesy shredded chicken, salsa, and seasonings—perfectly rolled in tortillas and either baked or fried until irresistible.
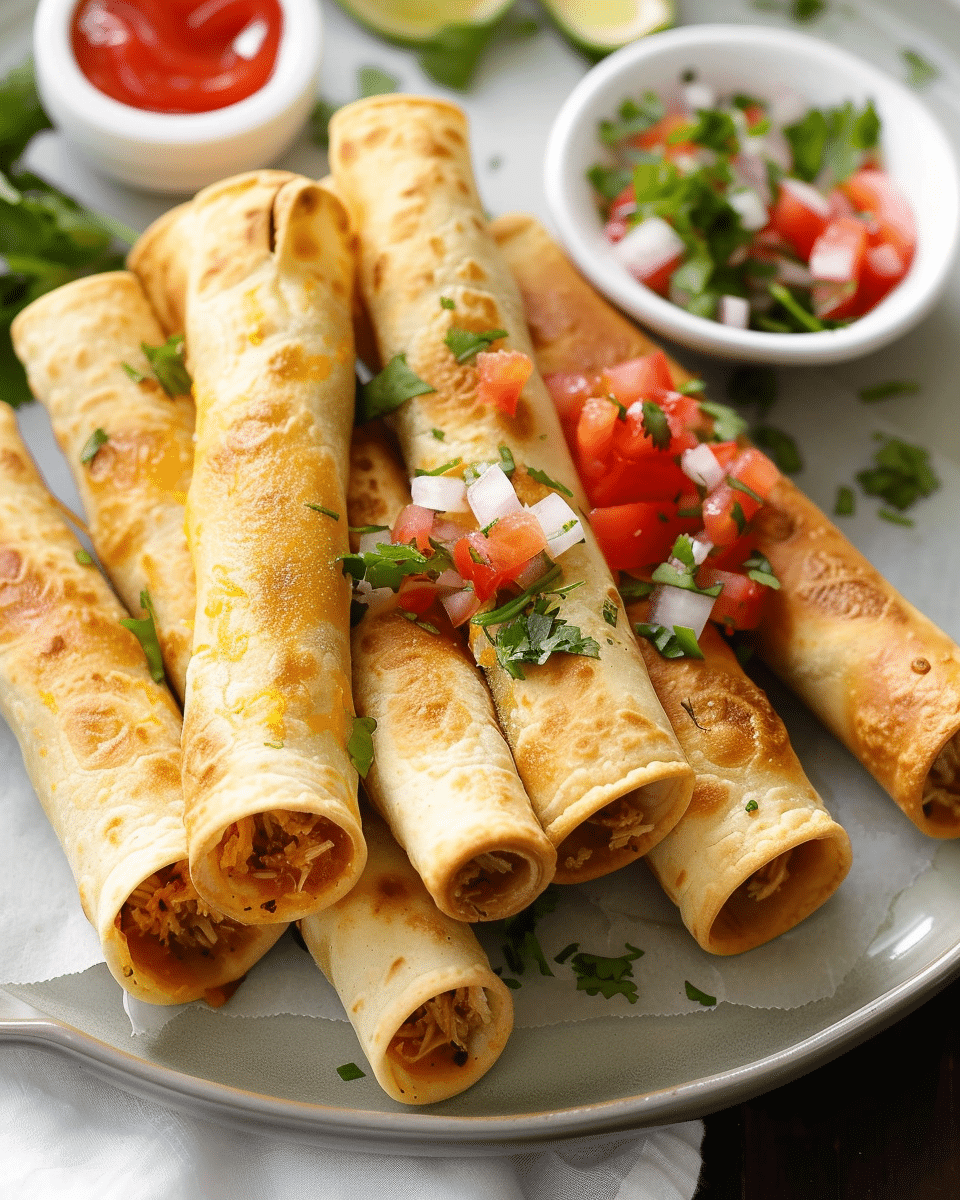
Why You’ll Love This Recipe
I love how full of flavor and satisfying these taquitos are—all in portable, crunchy rolls. The creamy chicken filling pairs beautifully with melty cheese and tangy salsa, and I can make them ahead, freeze them, or pop them straight into the oven or hot oil. They’re great as a snack, dinner, or party appetizer—easy to customize and always crowd-pleasing.
ingredients
(Here’s a tip: Check out the full list of ingredients and measurements in the recipe card below.)
• Shredded chicken
• Cream cheese
• Shredded Monterey Jack or Pepper Jack cheese
• Salsa
• Sour cream
• Lime juice
• Hot sauce
• Cilantro, chopped
• Jalapeño, finely diced
• Sliced green onions
• Corn or flour tortillas
• Melted butter (for baking) or neutral oil (for frying)
directions
-
I mix shredded chicken with cream cheese, shredded cheese, salsa, sour cream, lime juice, hot sauce, cilantro, jalapeño, green onions, and spices until well incorporated.
-
I spoon about 3–4 tablespoons of filling onto each warmed tortilla, roll tightly, and place them seam‑side‑down. If baking, I brush the tops with melted butter to help them brown.
-
To bake: I arrange taquitos on a baking sheet (cooling racks help for extra crispness) and bake at 425 °F for about 10–15 minutes until golden.
-
To fry: I heat about ¾-inch of oil to 350 °F, optionally secure seams with toothpicks, and fry seam‑side‑down first for a few minutes per side until crisp and golden.
-
I serve them hot, accompanied by sour cream, salsa, guacamole, or other favorite dips.
Servings and timing
I usually get around 15 taquitos.
Prep time: about 25 minutes
Cook time: about 15 minutes
Total time: around 40 minutes
Variations
-
I sometimes use corn tortillas, though I find flour ones are less likely to tear. Warming tortillas before rolling helps a lot.
-
I often use shredded rotisserie chicken to save time—no extra seasoning needed if it’s already salted.
-
I add crispy bacon, diced peppers, or additional cheeses for extra flavor.
-
For a healthier version, I bake or air-fry instead of frying.
-
I freeze rolled taquitos for up to three months—then thaw, bake or fry straight from the fridge.
storage/reheating
I cool the taquitos completely before storing them in an airtight container. They stay good in the fridge for up to 3 days and freeze well for up to 3 months.
To reheat, I warm them in a 375 °F oven until heated through and crisp again — or air-fry for a few minutes. Microwave works too, but crispiness will soften.
FAQs
Can I prep these ahead of time?
Yes—I assemble and roll them, then store in the fridge for up to 2 days or freeze for up to 3 months. Thaw before cooking if frozen.
Should I use corn or flour tortillas?
I prefer flour tortillas because they’re more pliable and less prone to cracking, especially for baking. Warming either type helps prevent breaks.
Do I need to secure the seams?
When frying, I often secure the seam side with a toothpick to prevent unrolling. It helps keep them intact until crisp.
How can I make them air-fryer friendly?
I place rolled taquitos seam‑side‑down in the air fryer basket, spritz them with oil, and air-fry until golden and crispy—much like baking or frying.
What should I serve with taquitos?
I love them alongside sour cream, guacamole, salsa, and lime wedges. They’re also great with rice, beans, corn salad, or a fresh veggie slaw.
Conclusion
I find these Chicken Taquitos to be comforting, flavorful, and endlessly customizable. From the creamy, cheesy filling to the crisp exterior, they never disappoint. Whether I bake, fry, or air-fry, they always turn out delicious—and they’re welcome at my table as an easy dinner, party appetizer, or make-ahead snack.
Print
Chicken Taquitos
- Total Time: ~35–40 minutes
- Yield: about 15 taquitos
Description
Crispy, golden rolled tortillas bursting with creamy shredded chicken, cheese, salsa, and tangy seasonings—a crowd-pleasing appetizer or dinner that’s bakeable or fryable and freezer‑friendly.
Ingredients
2 cups shredded cooked chicken (rotisserie or poached)
1½ cups shredded Monterey Jack or pepper Jack cheese
6 oz cream cheese, softened
¼ cup salsa
¼ cup sour cream
1 Tbsp lime juice
1 tsp hot sauce
2 Tbsp chopped cilantro
1 jalapeño, seeded and finely diced (optional)
3 Tbsp sliced green onions
½ tsp onion powder
½ tsp garlic powder
¼ tsp cumin
¼ tsp paprika
¼ tsp chili powder
Tortillas and finishing:
15–20 6‑inch flour or corn tortillas (warmed/microwaved to soften)
1½ Tbsp melted butter (for baking) or vegetable oil for frying
Instructions
In a large bowl, combine shredded chicken, cheese, cream cheese, salsa, sour cream, lime juice, hot sauce, cilantro, jalapeño, green onions, and spices until evenly mixed.
Place about 3–4 tablespoons of filling in the center of each tortilla. Roll tightly, tucking ends, and place seam‑side‑down on a plate or tray.
To Bake: Preheat oven to 425 °F (220 °C). Line a light-colored baking sheet with wire cooling racks if available. Brush the tops (but not the very ends) of taquitos with melted butter. Bake 10–15 minutes until golden brown and crisp. Remove and serve immediately.
To Fry: Heat about ¾‑inch oil in a heavy skillet to 350 °F. Insert toothpicks to seal seams if desired. Fry taquitos seam‑side‑down in batches, turning as needed, for about 2 minutes per side or until golden. Drain on a cooling rack.
Serve warm with salsa, guacamole, sour cream, cilantro, green onions, and lime wedges.
- Prep Time: 25 minutes
- Cook Time: 10–15 minutes (baking) or ~10 minutes frying
- Category: Appetizer

